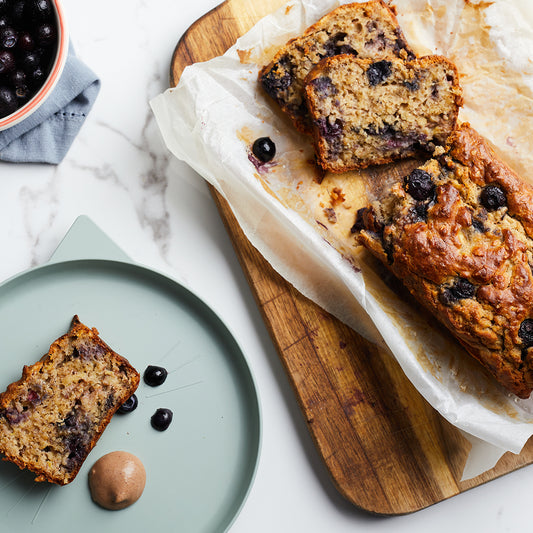
SOURDOUGH CRUMPETS
-
25 Mins Cook
-
Vegan Friendly
-
Dairy Free
These sourdough crumpets are quite complicated but well worth the preperation.
INGREDIENTS
-
Day 1:
- Active sourdough starter:
- 140g strong white flour
- 140g water
-
Day 2:
- 280g of starter mixed on day one
- 2 tsp coconut sugar
- Pinch of salt
- ½ tsp bicarbonate of soda
- (Leave out the sugar and salt if making for your baby)
METHOD
Making the Crumpets
-
Heat a frying pan to medium heat.
-
When the pan is up to temperature whisk the salt, sugar and bicarbonate of soda into your starter.
-
Drop some of the batter into the pan, as you would with a small pancake. If you have crumpet rings you can use these otherwise you can make free form crumpets. Cook for a few minutes until the top of the crumpet looks cooked. Then flip over and cook for around another minute.
-
Then you can either eat them straight away or save them for toasting later.
Making the sourdough starter:
Day 1:
-
1 tsp strong white flour
-
1 tsp water
Mix together the flour and the water in a container with a lid (it does not need to be airtight). We actually recommend mixing with your hands rather than a spoon. As disgusting as it might sound all humans have naturally occurring yeast on their hands and so using your hands to mix the levain can give it a real boost. Leave the mixture overnight at room temperature.
Day 2:
-
Day 1 mix
-
1 tsp strong white flour
-
1 tsp water
Throw away half of the mixture from Day 1. This is because you want to almost overwhelm the bacteria/yeast in the starter with food which means you need to add more flour (food) than the weight of the original mixture. You could do this by adding more flour/water and not throw any away but you would very quickly end up with an excessively large amount of levain.
Stir the flour and water into the remaining mix and leave at room temperature again.
Days 3 & 4:
Repeat Day 2
Day 5:
At this point you should notice your levain has bubbles in and has a slightly sour/acidic smell. This means that your levain is ready. At this point you can start making bread by adding the amount of flour necessary for your chosen recipe and leaving it overnight at room temperature.
If your levain still seems inactive don’t worry just keep repeating Day 2 until it does.
There are quite a few factors that can affect how long it takes a levain to get going, temperature being one of the main culprits. For example if you start your levain in winter when it is cold it may take longer to get going. Also, the general environment can affect that speed at which the levain becomes active. IN the bakery, as we are making bread everyday, there is so much yeast already in the atmosphere that we find levains can take just a couple of days to get going whereas if a kitchen is very sterile it is likely to take much longer.
MORE RECIPES
Are you looking for something tasty and nutritious to share with your budding foodie? Discover our baby weaning recipes, perfect for every occasion! Here at Babease, we know that you want your little one to experience the wide world of food! We’ve collected some of our favourite recipes for babies and created this handy resource to provide you with some new and exciting ideas.
EXPLORE ALL RECIPESGET 20% OFF YOUR FIRST ORDER!
Join the Baby Club for FREE weaning help and advice.


